


Two weeks ago I posted about how the Garden Shop was created and what it looked like in its pristine condition. Here’s what changed after a month of hard play (nearly 300 hours of play!):
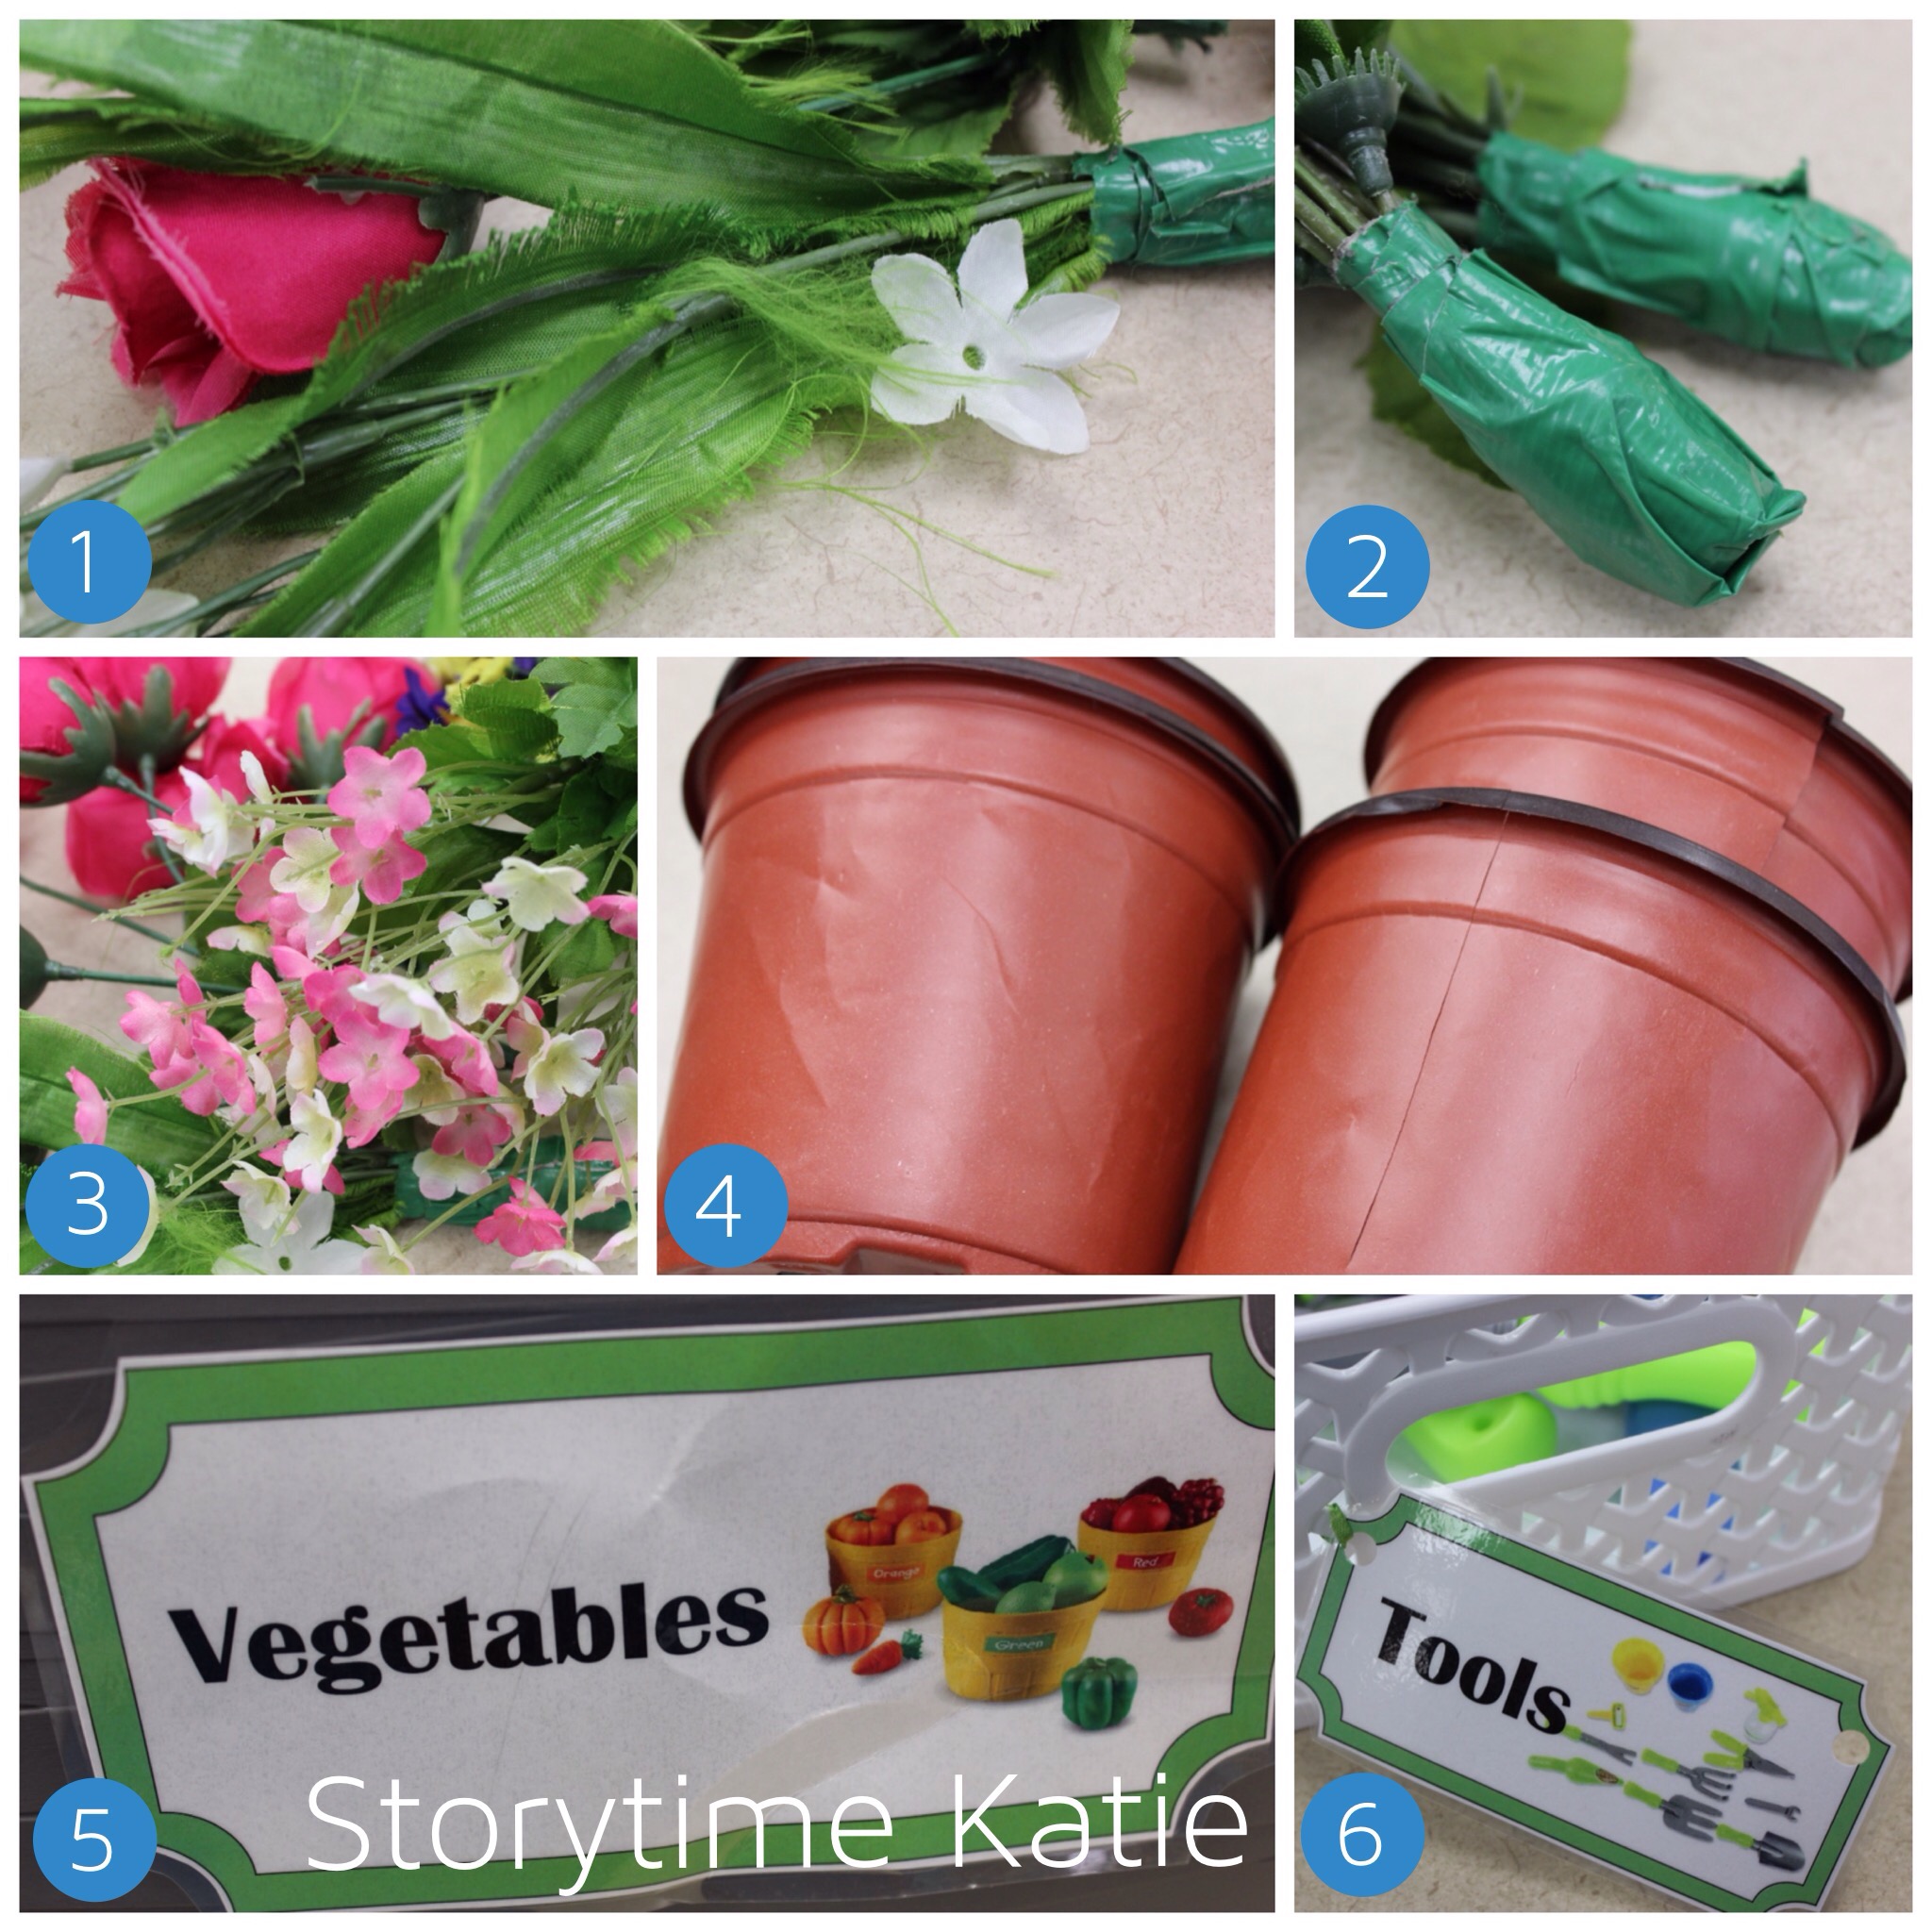
1. Our flowers suffered the most out of anything. Some of the leaves started to fray from constant use. I didn’t do anything to pre-treat the flowers this year, but I might next year. Maybe a coat of fabric spray will help them hold together.
2. I was, however, DELIGHTED that the corks & duct tape stayed on the whole time!
3. And of course, some of the flower bunches lost individual flowers either from use or from a child who needed to take it home. (Which I’m okay with.) This set with the tiny flowers was the one that lost the most. I could hot glue each one to the stem next year, but the cost of the product (I paid $1.19-$1.79 for each bunch) was probably not worth the time taken to glue each flower.
4. The dollar store pots. I lost half of them to crunching and cracking. Given their ability to be destroyed in a child’s hand, I’ll stock up on some extra Menards pots at the end of springtime.
5. I only “lost” one of the Velcro labels due to crunching. I barely even consider this a loss because I wound up not keeping any of the Velcro labels because they were sticky enough after the Velcro dots to not be able to be stored without getting the other labels sticky.
6. Some of the tied labels started to go very early in the process. A co-worker suggested hot-gluing the knots and the problem was resolved after that. So make sure to glue the knots if you’re tying!
All in all, one soil bag was missing (likely thrown out by a helpful patron who saw an empty plastic bag). I threw out the flowers and decided to start again new the next time. And I did print off new labels and laminated them so they are ready for the next time the center comes out.
So moving right along: storage!
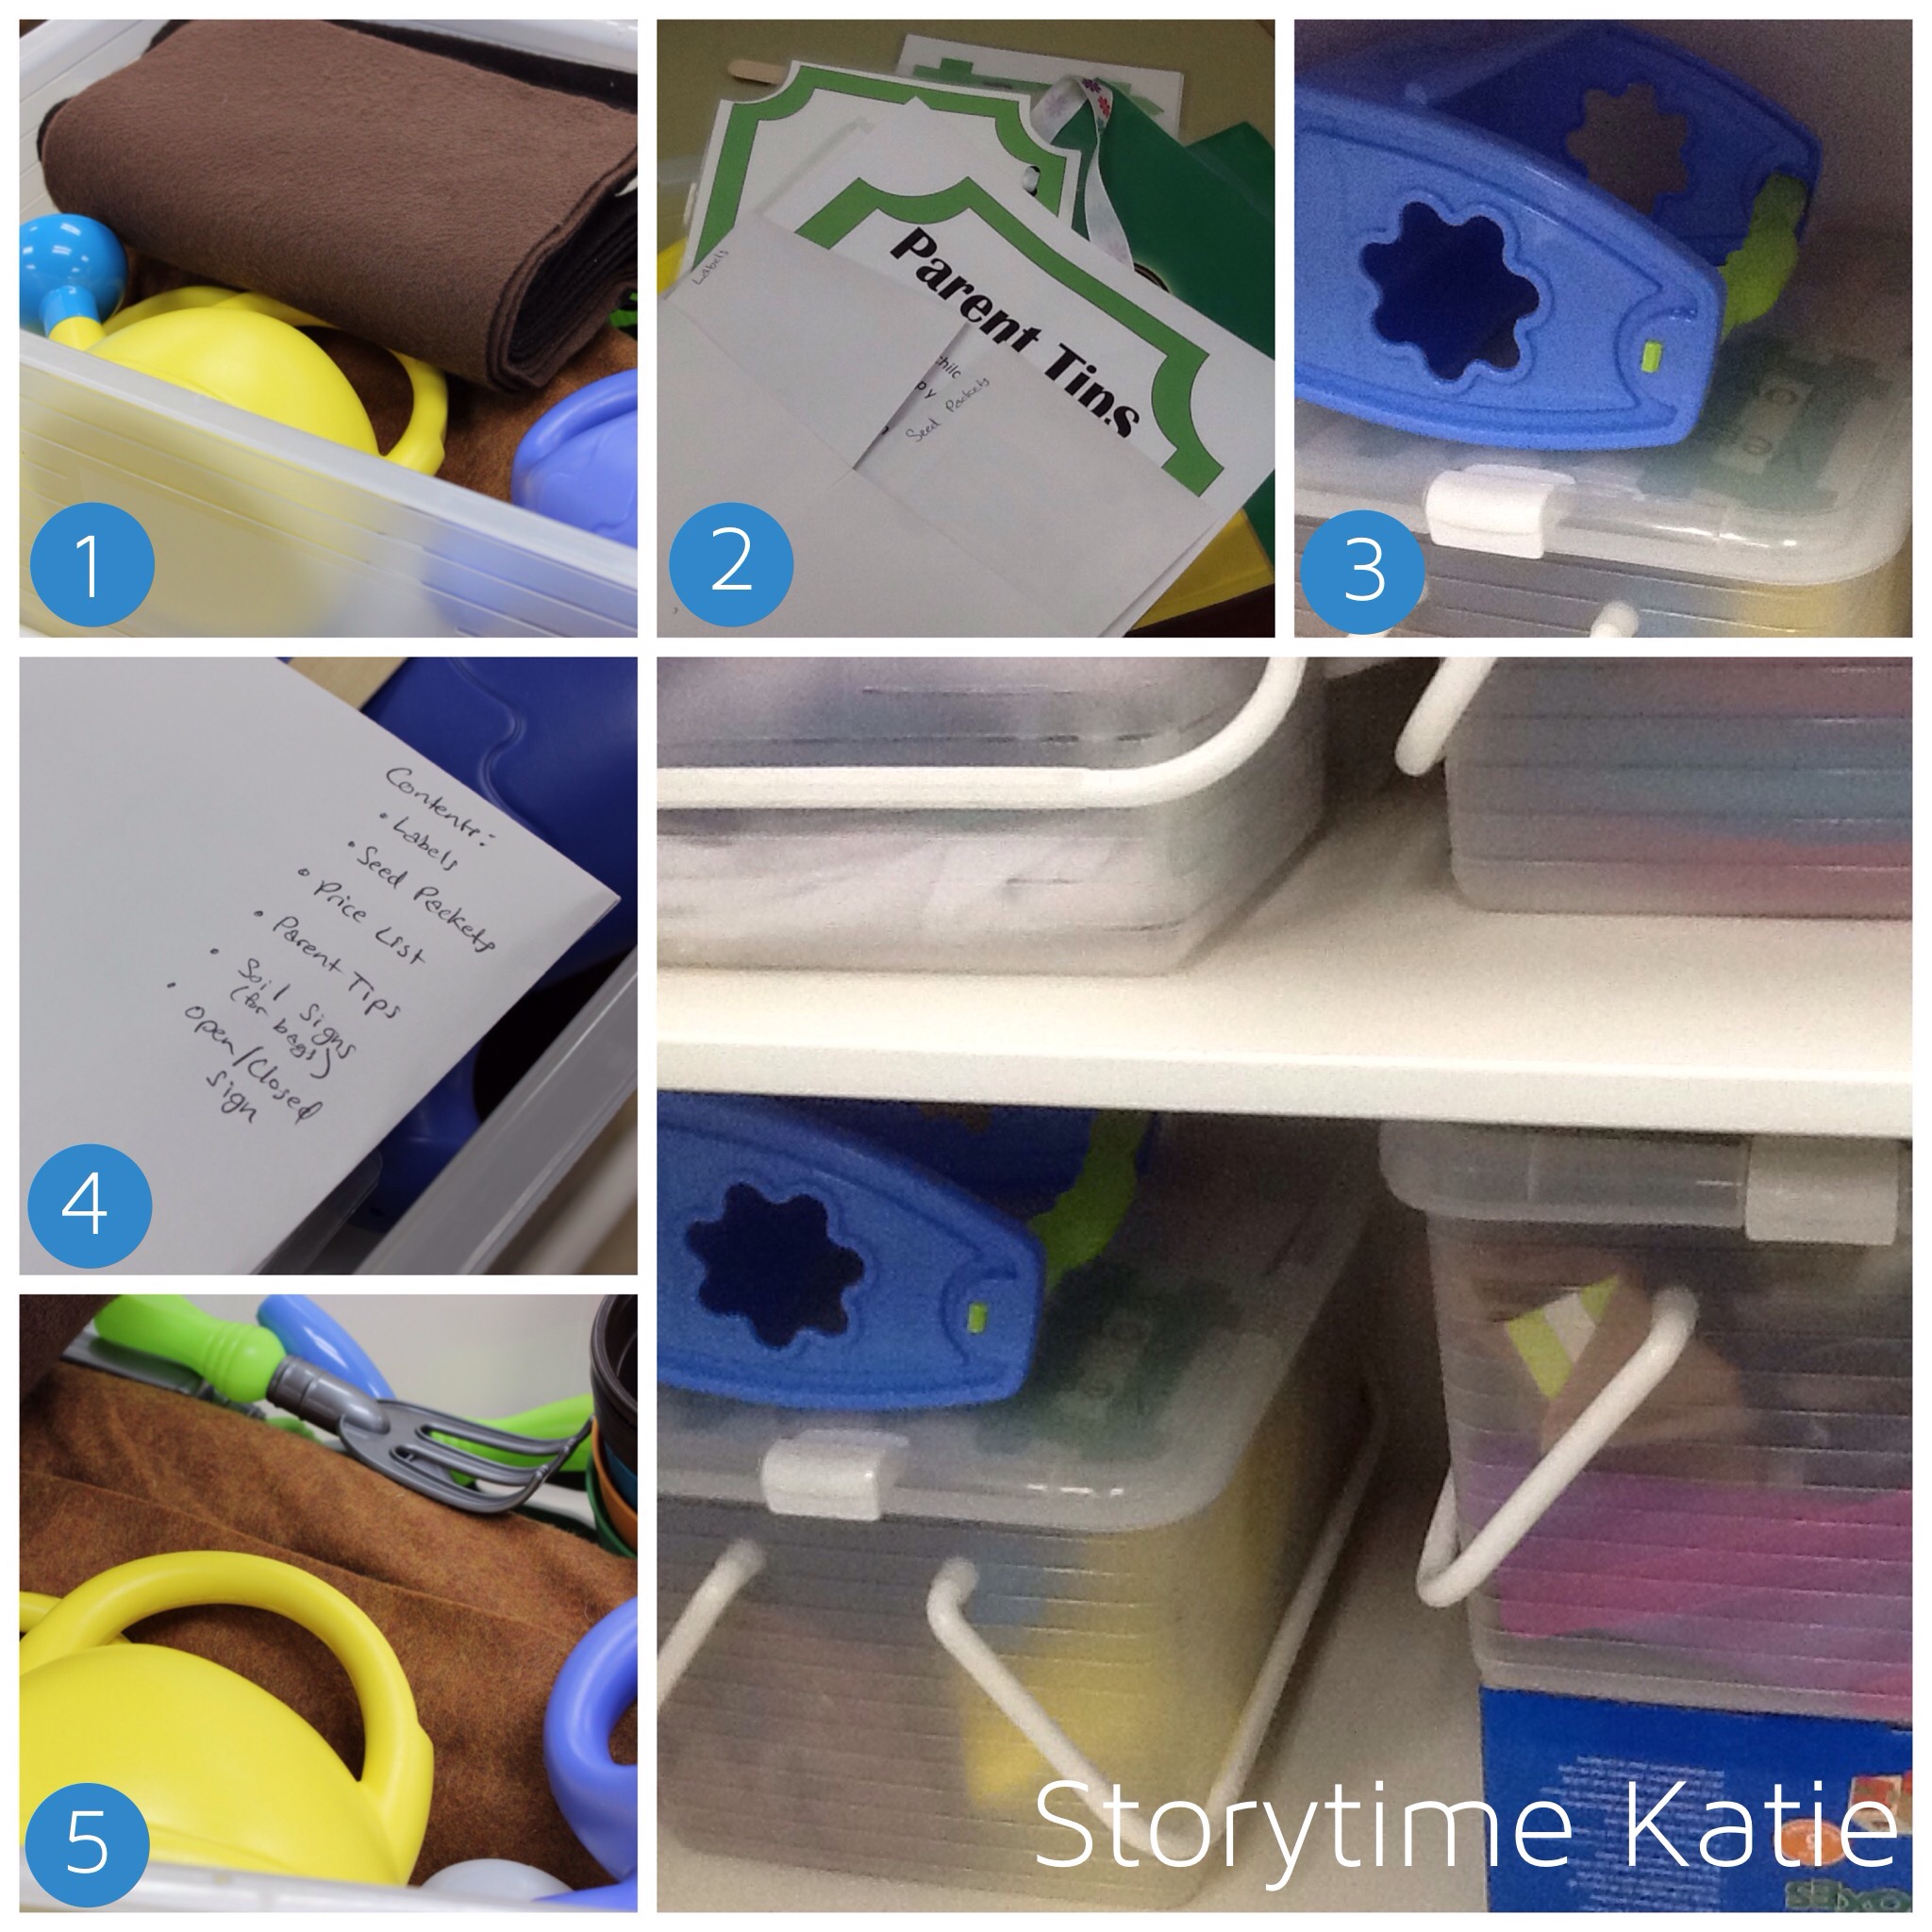
1. Get a bin that works for you and your space. Ours are from The Container Store and we have both the medium and large sizes. (These used to store old circulating kits that I’m updating.) I used the large size for the Garden Shop.
2. Store all the flat pieces in a single envelope so that you’re not struggling to find a label the next time you unpack the center.
3. If a large item doesn’t fit, that’s okay. Just store it on the side of the container so you can find it for next time.
4. Label everything!! You want to know the contents before digging through a box. I’ll be making outside labels for each box once we have more than three of them. (Right now it’s easy to tell which box is which, but once I have twelve of these centers, that won’t be the case.)
5. Clean and disinfect everything before storing. I wiped down all the plastic items and let them dry. The brown felt pieces were sprayed with disinfectant and allowed to dry.
Disassembling the play space and preparing everything for storage took an entire morning of work. (Although, I was putting up the Bakery at the same time.) Speaking of the Bakery, I’ll have a post up in two weeks detailing all of the different items in that play space!


Leave a comment